
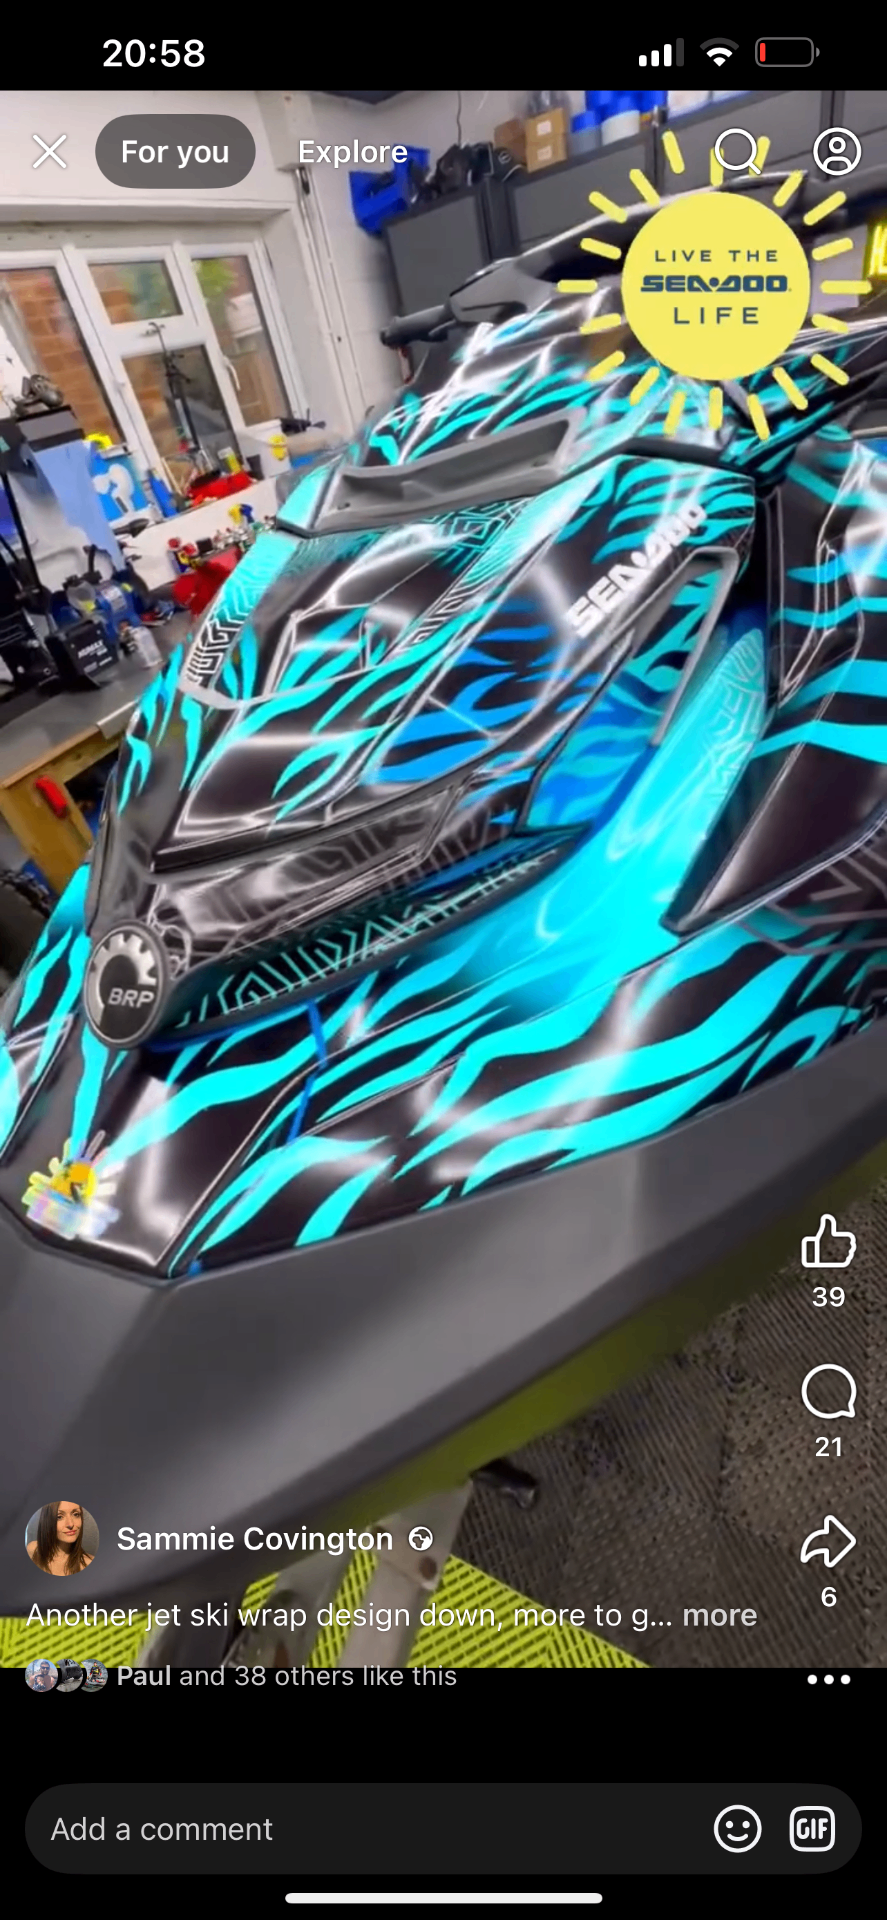
How to Install a Jetski Sticker Kit
Fit It YourselfStep By Step
Tools, surface prep, heat-gun technique and the mistakes to avoid when fitting your own jetski sticker kit.
Tools & Materials
Before you begin, gather the following tools:
- Heat gun — essential for conforming vinyl around curves
- Squeegee — for smoothing out air bubbles
- Precision knife — for trimming edges cleanly
- Isopropyl alcohol (IPA) — for surface preparation
- Microfibre cloths — lint-free for final wipe-down
- Masking tape — to temporarily hold panels in position
Investing in a quality heat gun with adjustable temperature makes a significant difference. We recommend setting it to around 70–80°C for most vinyl applications.
Surface Preparation
Proper preparation is the single most important step. A poorly prepped surface will cause the vinyl to lift, bubble, or peel prematurely.
- Wash thoroughly — Remove all salt, sand, and debris with fresh water and a mild detergent.
- Dry completely — Let the hull air dry or use a clean microfibre cloth. Any trapped moisture will cause bubbles.
- Degrease with IPA — Wipe every panel with isopropyl alcohol to remove oils, wax, and residue.
- Remove old graphics — Use a heat gun to soften and peel existing stickers or sticker kits. Clean adhesive residue with IPA.
Application Technique
Our sticker kits are designed for dry application. Here's the process:
- Position the panel — Hold the vinyl in place (without removing the backing) to confirm alignment. Use masking tape to mark reference points.
- Peel and tack — Remove a small section of backing and tack the vinyl in place, starting from one edge.
- Squeegee outward — Work from the tacked edge outward, using firm, overlapping strokes to push air out.
- Heat and stretch — For curves and recesses, use the heat gun to soften the vinyl, then stretch gently into place.
- Trim edges (if necessary) — Use a sharp knife to trim excess vinyl, leaving 2–3mm to tuck under edges where possible.
- Post-heat — Once applied, heat the entire panel evenly to activate the adhesive's memory and ensure long-term adhesion.
Tips & Common Mistakes
- Don't rush — Take your time, especially on the first panel. Speed comes with experience.
- Work in sections — Don't try to apply a large panel all at once. Peel the backing gradually.
- Avoid over-stretching — Stretched vinyl will eventually shrink back, causing lifting at edges.
- Mind the temperature — Too cold and the vinyl won't conform; too hot and it can distort or overstretch.
- Clean as you go — Any dust or debris trapped under the vinyl will show as a bump.
If you're not confident in self-installation, we can recommend professional fitters across the UK. Contact us for a recommendation in your area.
Need Help Installing?
We can connect you with professional fitters across the UK.
Installation FAQs
Why ChooseUs?
We ride, design and print. Every kit leaves here drawn for one machine rather than adapted from a template.
Designed Around You
Artwork drawn for your model, your colours, numbers and ideas — never pulled off a shelf.
Vinyl That Lasts
Thick vinyl with a UV-resistant laminate — built for salt, sun, and speed.
Fast Turnaround
Design approval to delivery in days, not weeks. We move at your pace.
UK-Wide Delivery
Fast, tracked shipping anywhere in the UK. Your kit arrives ready to fit.
Fully Reversible
Comes off when you want it to, with zero damage. Gel coat and resale value stay intact.
3–5 Year Durability
UV-resistant laminate keeps the colours sharp season after season, not just the first summer.
You Already Chose The Ski.
Now Make It Yours.
Tell us what you're riding and what you've got in mind. You don't need the design figured out — that's where we come in.
Start My Design